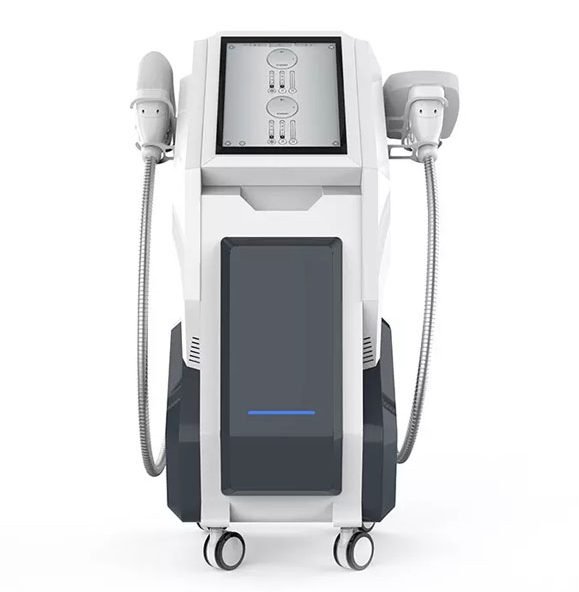
Here’s the thing about cryolipolysis machines: they don’t throw error codes like a laser does. They don’t beep at you when something’s off. A cryo handle can slowly lose cooling power over weeks, the suction can weaken a little each day, and you might not notice until a patient says the treatment didn’t work — or worse, they got a frostbite mark that shouldn’t have happened.
In our experience talking to clinics, maybe 20% of cryo machine “failures” are actual component failures. The other 80% are maintenance issues that accumulated until they crossed a threshold. The good news: most of these are fixable in 10 minutes with no tools beyond a screwdriver and some alcohol wipes.
This guide walks through the four most common problems — not cooling, no suction, frostbite, and blocked tubing — plus a daily/weekly/monthly maintenance routine that prevents all of them.
Problem 1: Handpiece Not Cooling (or Cooling Got Weaker Over Time)
What you notice:
- The console shows the temperature dropping normally — -5°C, -8°C, whatever you set — but the cold plate on the handle doesn’t feel as cold as it used to.
- Treatments take longer to show the same fat reduction.
- Patients who used to feel intense cold now say it’s “mild.”
- One handle works fine, another on the same machine is weak.
Check these, in this order:
Problem 2: No Suction / Weak Vacuum
What you notice:
- The handle powers on, the cold plate gets cold, but the vacuum can’t pull the tissue into the cup.
- Or it pulls the tissue in, but it keeps slipping out mid-treatment.
- The vacuum gauge shows low pressure even at 100% setting.
- One handle is weak, others are fine — or all handles are weak.
Diagnose systematically:
Step 1: Check if it’s one handle or all handles
One handle weak, others fine: problem is in that specific handle or its hose. All handles weak: problem is in the main vacuum pump, the central filter, or a system-wide leak.
Step 2: The Filter — Check This First, Always
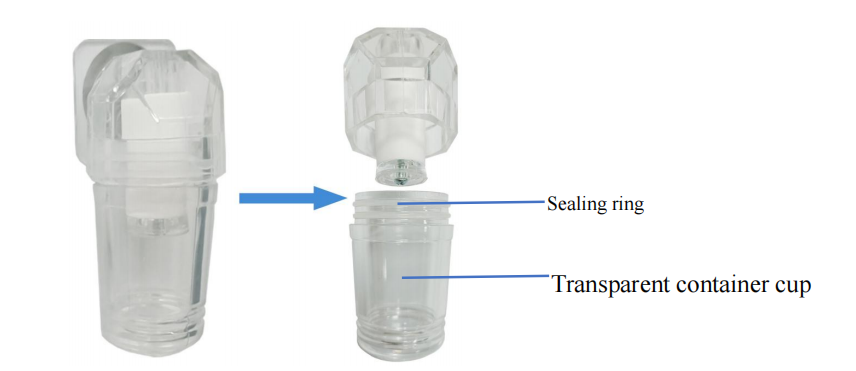
Every cryo machine has a filter between the handle and the vacuum pump. Its job is to catch anything that gets sucked out of the handle — glycerin, moisture, cotton fibers from the anti-freeze membrane — before it reaches the pump. When this filter fills up, suction drops or stops entirely. This is the single most common cause of suction failure.
What to look for: The filter is usually a small transparent cup or bottle on the side or back of the machine. Open it. If you see:
- A black-grey sludge — that’s glycerin mixed with cotton fibers and dust. The filter has been full for a while.
- Liquid pooled at the bottom — glycerin and moisture that got sucked past the handle.
- A hard, crusted sponge inside — the filter element has dried solid and needs replacement, not just cleaning.
Fix: Empty the filter cup. Wash the filter element with warm water until it runs clean. Let it dry completely before reinstalling — a wet filter element restricts airflow just as badly as a clogged one. If the filter element is hardened, cracked, or won’t come clean, replace it. Filters are cheap — a destroyed vacuum pump is not.
Step 3: Silicone Cup & Seal
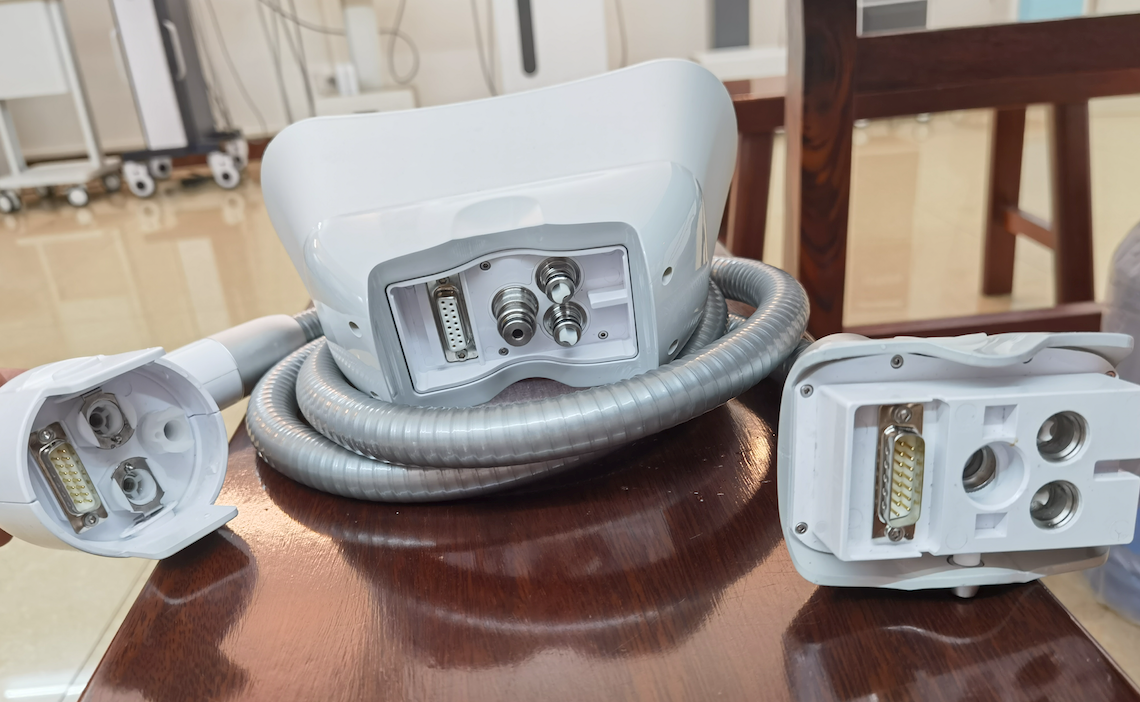
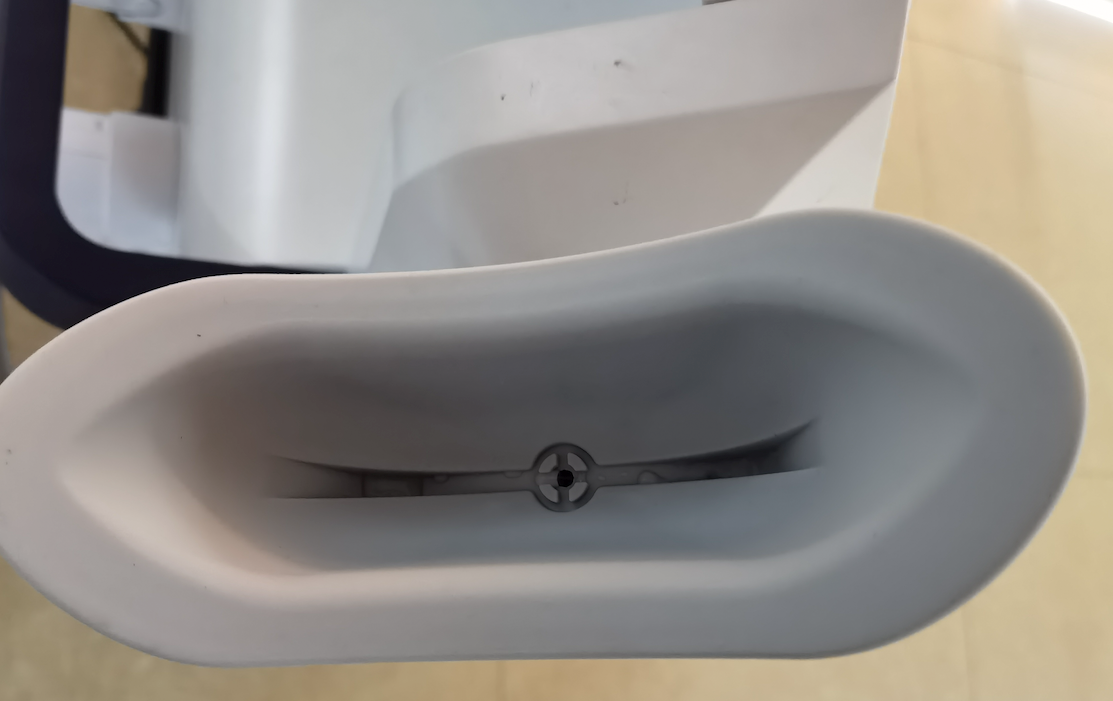
The silicone cup that presses against the patient’s skin is the vacuum seal. If it’s damaged, suction leaks out. Check for:
- Cracks or tears in the silicone — even hairline ones. The vacuum will find them.
- Hardened silicone — silicone that’s turned stiff and lost its flexibility. This happens from age and from cleaning with harsh chemicals (never use pure alcohol or acetone on silicone cups).
- Debris on the sealing edge — a single cotton fiber from a membrane stuck to the rim can break the seal enough to lose suction.
Run your finger around the entire rim of the cup before each treatment. You’ll feel debris you can’t see.
Step 4: Hose Connections
Trace the vacuum hose from the handle all the way to the machine. At every connection point, check: is it fully seated? Can you twist it off by hand? A loose hose connection loses vacuum pressure gradually — you might not hear a hiss, but the gauge will show it.
Also inspect the hose itself. Look for kinks, flattened sections (where something heavy sat on it), or small cracks. A pinhole leak in a vacuum hose is almost invisible but drops suction significantly. Replace damaged hose sections — tape won’t hold vacuum.
Step 5: Test the Pump Directly (If All Else Failed)
If the filter is clean, hoses are tight, cups are intact, and you still have no suction — test the pump itself:
- Power off and unplug the machine.
- Open the back panel and locate the vacuum pump (usually a small cylindrical unit with hoses connected).
- Disconnect the hose at the pump inlet. Take a photo first so you remember which hose goes where.
- Power on, set vacuum to 100% in treatment mode.
- Put your finger over the pump inlet. You should feel strong suction and hear the pump motor running.
If the pump runs but produces weak suction — the internal diaphragm is worn. Replace the pump.
If the pump is silent, no vibration, no suction — the motor is dead or seized. Replace the pump.
If the pump produces strong suction — the problem is somewhere in the hoses, connections, or handles. Work backward from the pump, testing each segment.
Problem 3: Frostbite on the Patient
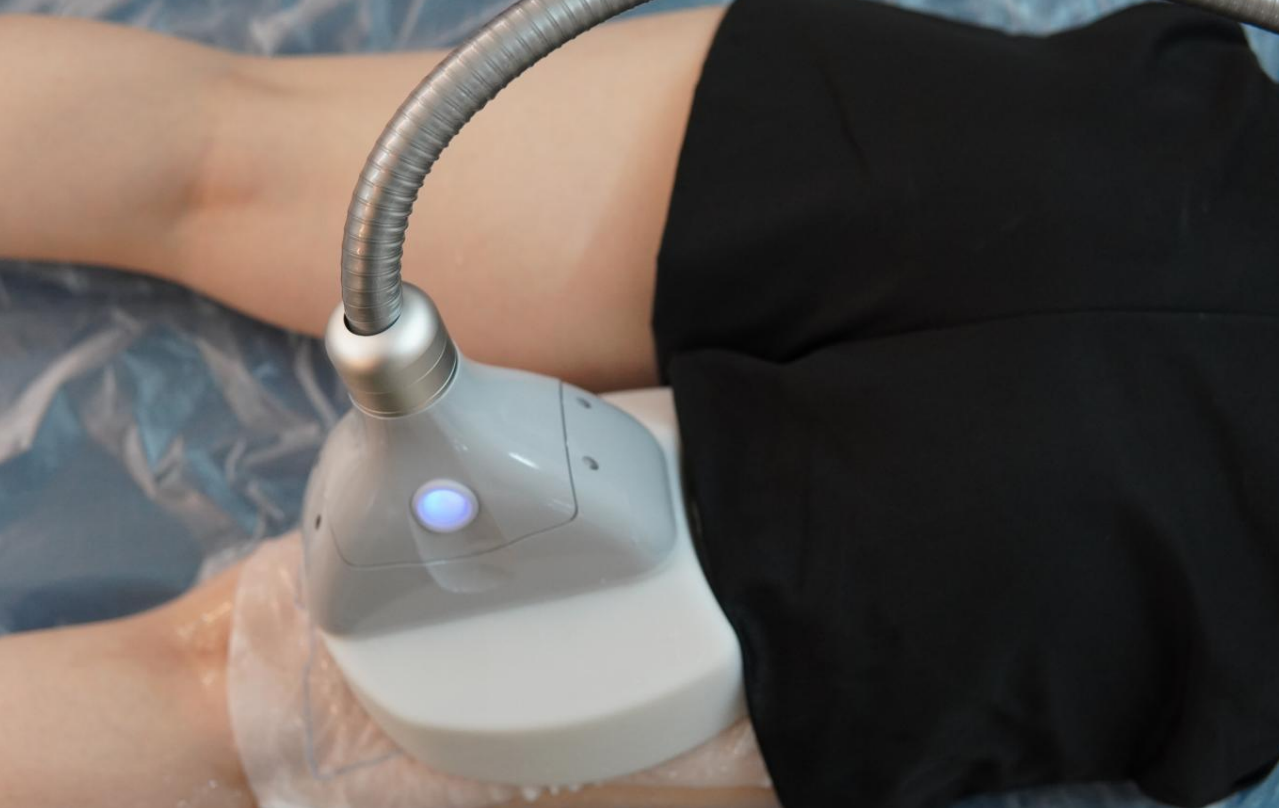
If a patient walks out with a frostbite mark — a clearly defined red or white rectangular patch matching the cold plate shape — the machine wasn’t malfunctioning. The cooling system did its job. The problem was in how the cold was delivered to the skin. Here’s what actually causes cryo frostbite, in order of frequency:
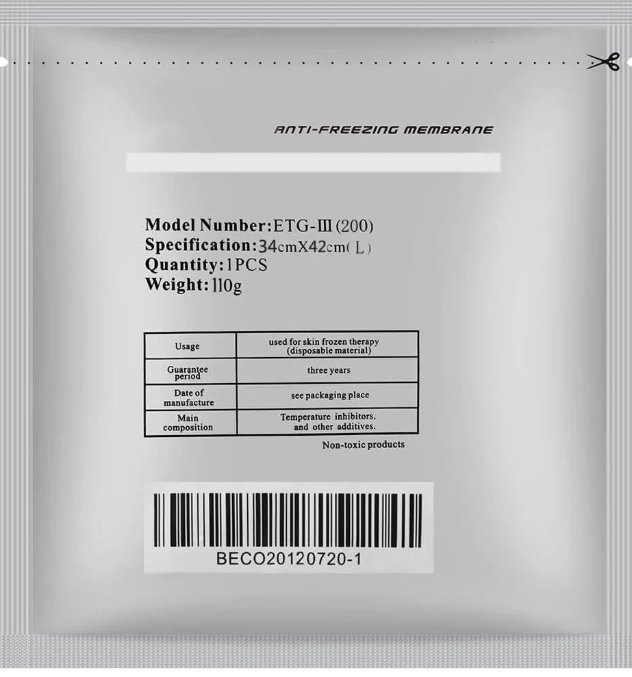
1. Anti-freeze membrane not covering the full cold plate area
The membrane needs to extend at least 2cm beyond the cold plate on ALL sides. When the vacuum pulls tissue into the cup, the membrane stretches and shifts. If it was barely covering the plate to begin with, the edge of the plate can slip past the membrane and contact unprotected skin. At -8°C, that skin freezes in under 30 seconds.
Fix: Always use a membrane one size larger than you think you need. If the cold plate is 6×8cm, use a membrane that’s at least 10×12cm. See our membrane size guide for each treatment area →
2. Skin was damp when the membrane was applied
Moisture on the skin surface freezes instantly at cryo temperatures. Even a thin layer of sweat, toner, or residual cleaning alcohol is enough. The membrane needs DRY skin to work — the glycerin and propylene glycol in the membrane can’t depress the freezing point of a puddle of water on top of the skin.
Fix: Wipe the treatment area with alcohol to degrease, then wait 30 seconds for it to evaporate completely. Pat dry with a tissue. THEN apply the membrane.
3. Reusing a membrane — the #1 rookie mistake
The cryoprotectant gel inside the membrane — the glycerin and propylene glycol — transfers from the membrane into the patient’s skin during treatment. After 30-60 minutes, most of it is gone. A used membrane is just damp fabric. It provides zero freeze protection on the second use. Zero.
Fix: One membrane = one treatment area = one use. Open a fresh one every time. If the cost bothers you, buy in bulk — membranes are under $1 each in volume. A frostbite complaint costs a lot more than a dollar.
4. Temperature too aggressive for the patient
First-time cryo patients and people with thin fat layers (under 3cm) are more vulnerable. Start conservative:
- First session: no lower than -3°C to -5°C
- -8°C to -10°C: only for patients with fat thickness above 5.5cm, and only after they’ve tolerated milder temperatures on previous sessions
- Check the skin every 5 minutes during the first treatment. Lift the handle, look at the skin condition, re-apply if anything looks off
5. Air bubbles trapped under the membrane
When you place the membrane, smooth it from the center outward. Any air pocket creates a spot where the membrane isn’t in full contact with the skin — and that’s where frostbite starts. You can feel bubbles by running your palm over the membrane before placing the handle.
Problem 4: Tubing Clogged with Glycerin & Fiber Buildup
Every time you run a cryo treatment, the vacuum pulls a tiny amount of glycerin and propylene glycol from the anti-freeze membrane into the handle, through the internal channels, and toward the filter. Plus microscopic cotton fibers shed from the membrane fabric. Over days and weeks, this mixture deposits on the inner walls of the tubing — glycerin is sticky, fibers get caught in it, more glycerin sticks to the fibers, and the tube diameter gradually shrinks.
Early warning signs of clogged tubing:
- Suction feels a little weaker than last month at the same setting — this is the earliest sign
- The vacuum gauge takes longer to reach target pressure
- One handle consistently weaker than others, even after swapping handles between ports
- The filter is getting dirty faster than it used to (debris that used to take a month now appears in a week — because buildup is sloughing off the tube walls)
How to clean:
- Disconnect the hoses at both ends (handle side and machine side).
- Run warm water through the hose. If the water comes out with visible particles or is yellowish, the tube needs cleaning.
- For light buildup: flush with warm water + a few drops of mild dish soap, then rinse thoroughly with clean water.
- For heavy buildup (water won’t flow through at all): replace the hose. Don’t try to rod it out — you’ll scratch the inner wall and create rough spots that trap debris even faster.
- Let the hose dry completely — at least 2-3 hours hanging vertically — before reconnecting. Moisture in the vacuum line gets sucked straight into the pump.
Prevention: If you clean the handle cold plate and wipe the handle interior after EVERY treatment (see maintenance section below), you remove the glycerin before it has a chance to migrate into the tubing. Tubes that got cleaned once a month clogged in 6 months. Handles cleaned every session? Tubes stay clear for years.
Daily / Weekly / Monthly Maintenance Schedule
This isn’t optional. This is what separates machines that run trouble-free for years from machines that frustrate you every other week:
FAQ
Can I use alcohol or acetone to clean the silicone cup?
No. Isopropyl alcohol and acetone dry out medical-grade silicone, causing it to harden, crack, and lose flexibility. Once silicone hardens, it won’t seal properly against skin and you’ll lose suction. Clean silicone cups with warm water and mild soap only. The cold plate (metal) CAN be cleaned with alcohol — just keep it away from the silicone parts.
The filter was completely full of black sludge — is my vacuum pump damaged?
If the machine was still pulling suction (even weak suction), the pump is probably fine — the filter did its job. Clean or replace the filter, test suction, and it should return to normal. If suction was completely dead for more than a few days while the filter was clogged, the pump may have been running against a blocked line, which overheats the motor. Test per the pump diagnostic procedure above.
How often should I replace the silicone cups?
Under daily use, replace every 6-12 months. Signs they’re done: the silicone feels stiff instead of springy, you can see micro-cracks around the rim under bright light, or the cup has changed color (yellowing). If a cup loses suction on a patient it used to grip fine, the silicone has probably hardened — replace it.
Can I use the same anti-freeze membrane on two small areas (e.g., both love handles) one after the other?
No. After 30-40 minutes on the first area, the glycerin and propylene glycol have largely transferred out of the membrane. The second area gets significantly less protection. Use a fresh membrane for every treatment area, every time. No exceptions.
My machine has been sitting unused for 2 months. What should I check before using it again?
① Check the filter — glycerin residue inside can dry and harden during idle periods. ② Run a vacuum test on each port. ③ Check all hoses for stiffness (rubber hoses can harden when sitting unused). ④ Power on and let the cold plates run at -5°C for 10 minutes — verify each handle reaches and holds temperature. ⑤ Check silicone cups haven’t dried out. Five minutes of testing beats an embarrassing first-treatment-back failure.
Cryolipolysis Membranes, Parts & Accessories
Anti-freeze membranes in all sizes, replacement silicone cups, vacuum pumps, filters, and complete cryo machines. Tell us what you need →