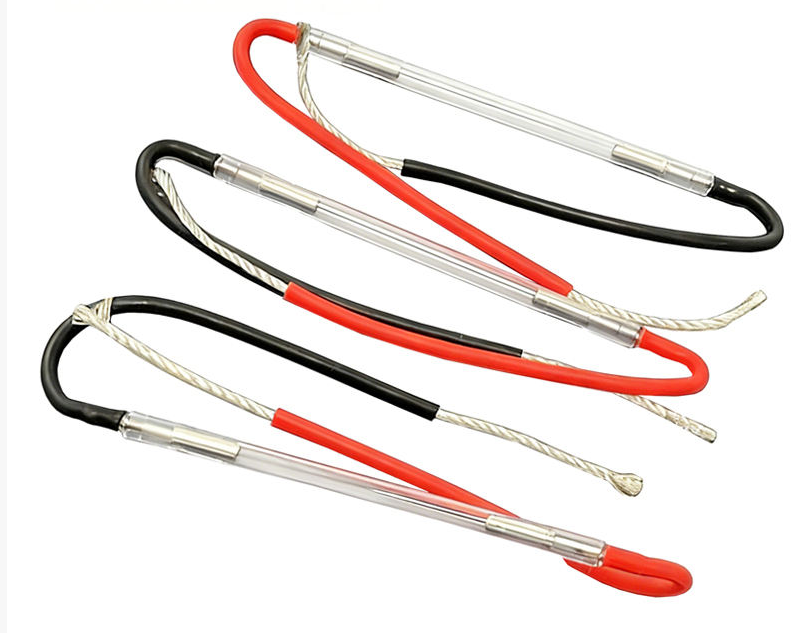
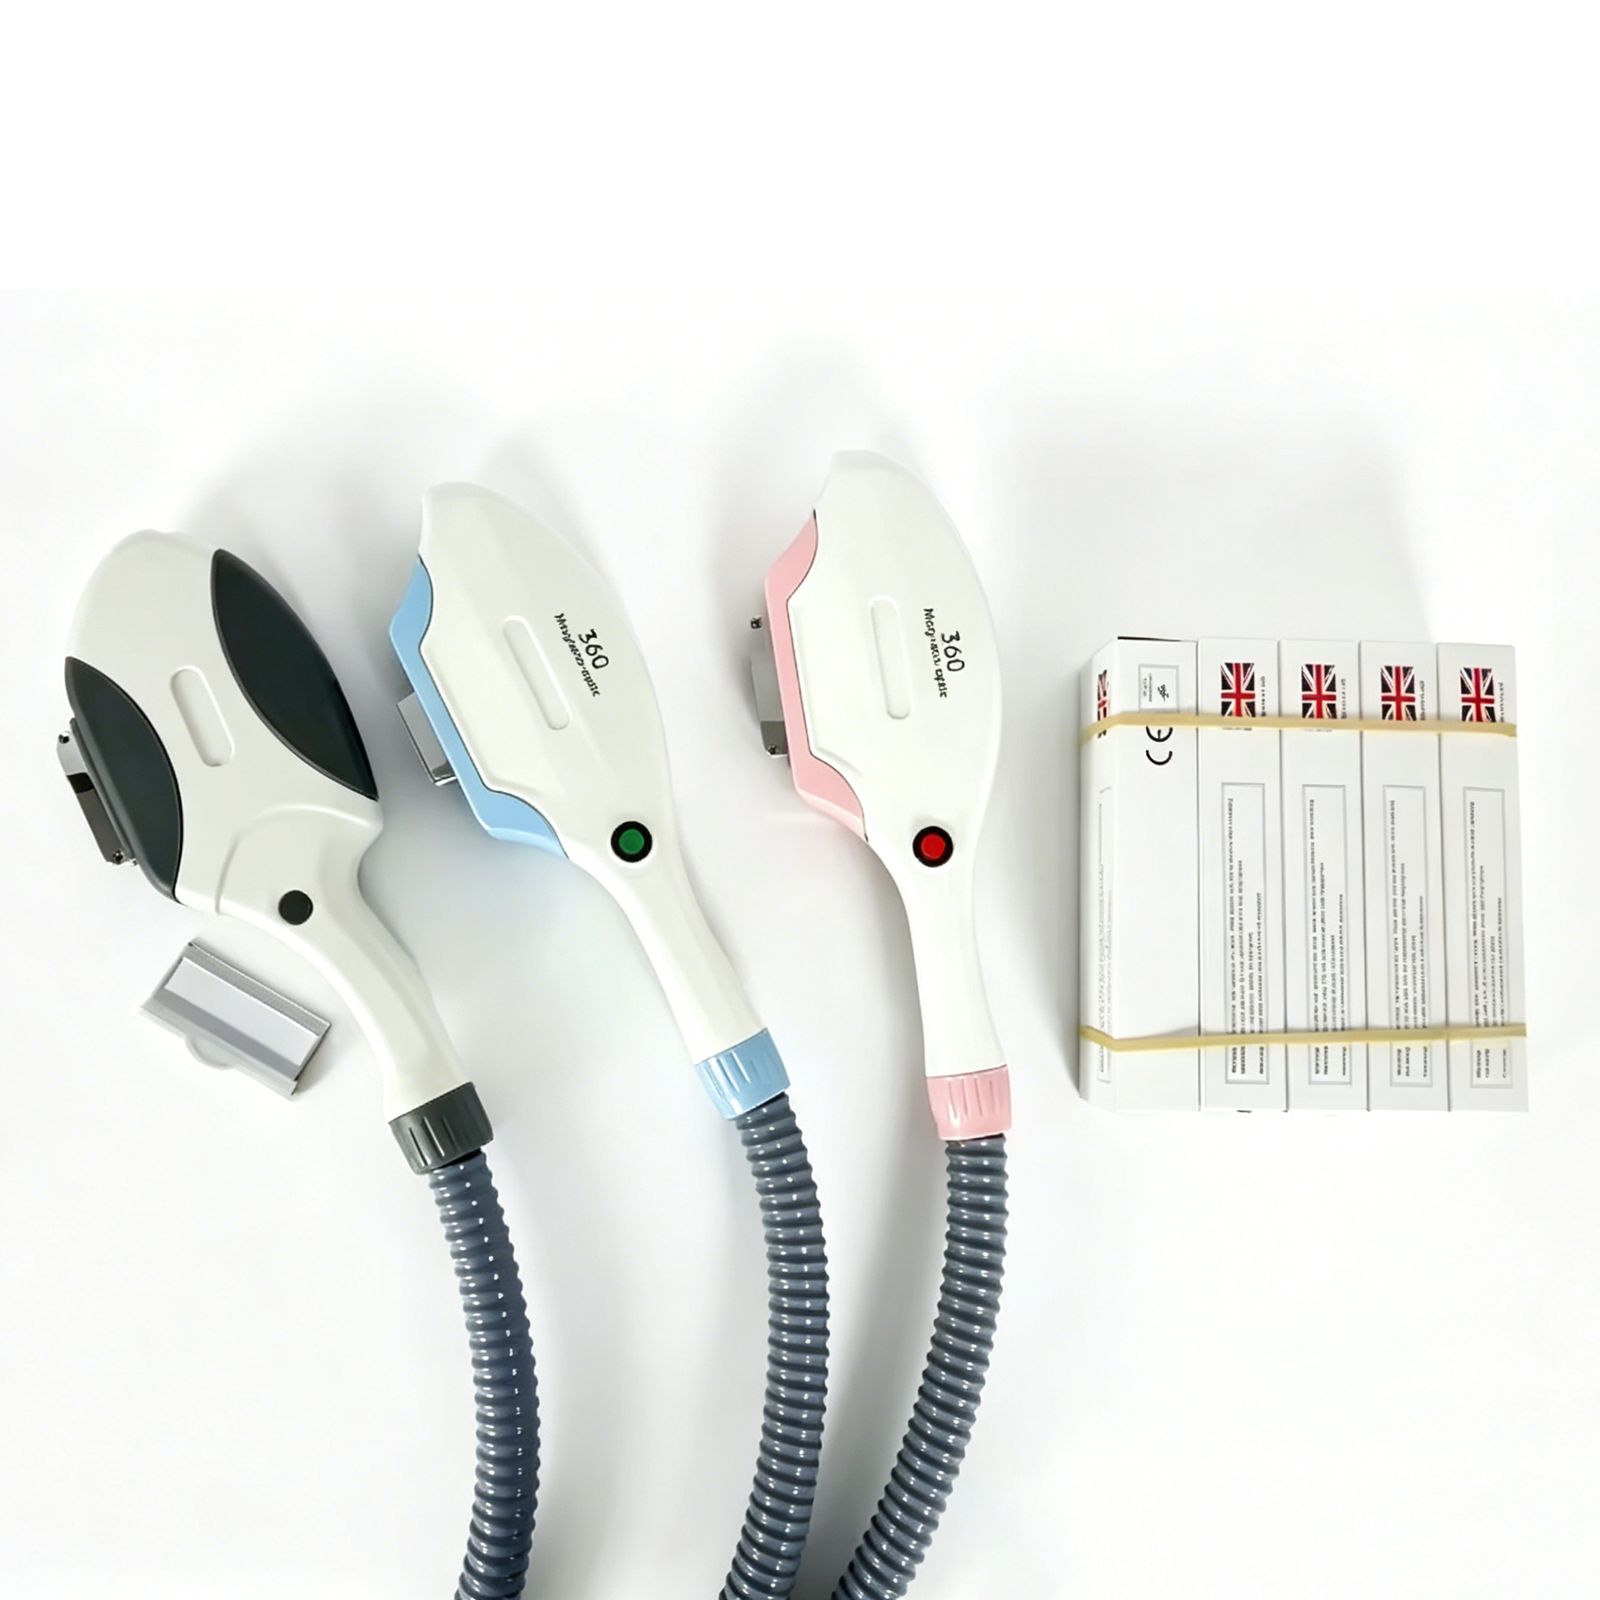
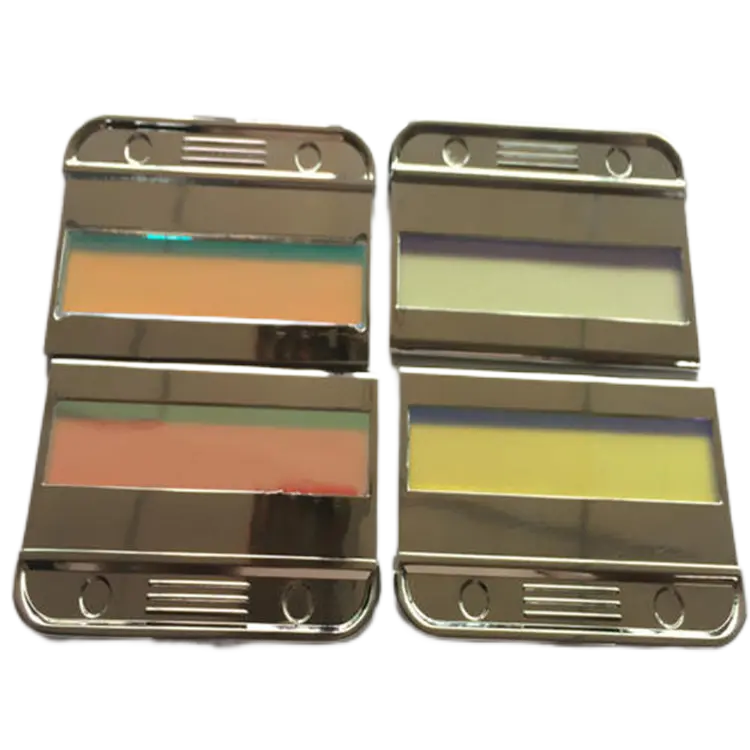
If your IPL machine fires but the flash looks dim, takes longer to charge between pulses, or you’re cranking up the energy to get the same hair removal result — the xenon lamp in the handpiece is dying. This is a normal consumable, like toner in a printer. Every IPL lamp has a rated shot count and they all eventually fade.
The replacement itself isn’t complicated — open the handle, swap the lamp, close it up, test at low power. The tricky part is ordering the right lamp in the first place, because IPL xenon lamps come in dozens of sizes and getting the measurements wrong by even 2mm means the lamp won’t fit. This guide covers both: how to measure your old lamp correctly, and how to physically replace it.
Part 1: How to Measure Your IPL Xenon Lamp (Do This Before You Order)
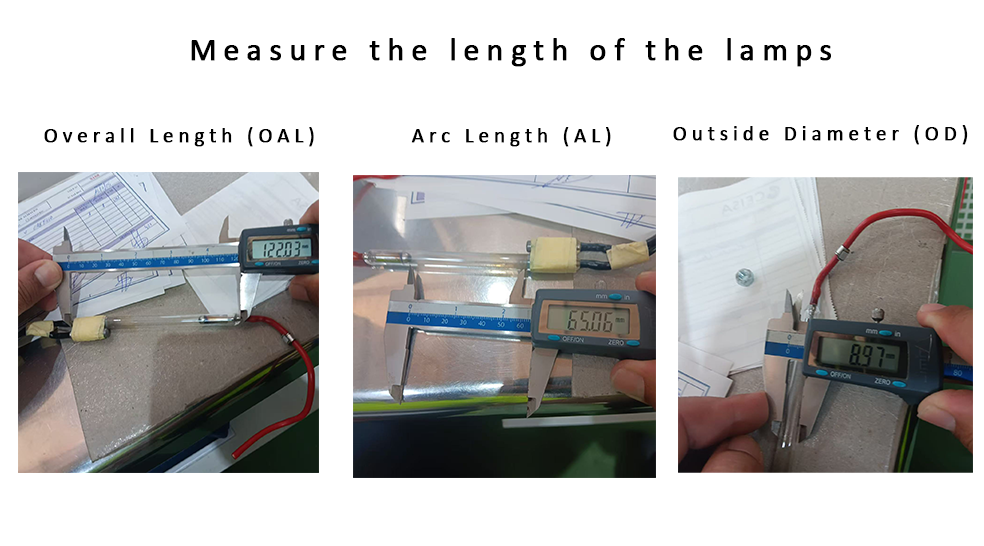
IPL xenon lamps use a standard three-number sizing system. Every lamp is identified by:
Outside Diameter × Arc Length × Overall Length — all in millimeters.
The Three Measurements
How to Read a Lamp Model Number
Most IPL lamps follow this pattern: OD × Arc × OAL — End Style
Example: 7×60×125-4×8
- 7 → 7mm outside diameter
- 60 → 60mm arc length
- 125 → 125mm overall length
- 4×8 → metal end caps that are 4mm diameter × 8mm long
A lamp marked 7×60×125-W means the same dimensions but with bare wire ends instead of metal caps. The “W” stands for wire. Some manufacturers add the wire length as W100 (100mm wires).
If You Can’t Find the Markings
Look for numbers printed on the metal end caps, on the original packaging, or etched into the quartz near one end. If nothing is visible, measure the old lamp with calipers and match all three dimensions plus the end style. Take a photo of the old lamp showing the end caps/wires before you order — suppliers can often identify it from a good photo with a ruler beside it for scale.
Part 2: Replacing the Xenon Lamp — Step by Step
Step 1: Power Down and Discharge
Turn off the machine completely. Unplug it from the wall — not just the soft power switch, physically unplug it. Wait at least 5 minutes for the internal capacitors to discharge. 10 minutes is safer. Don’t skip this. The capacitors inside an IPL power supply can hold enough charge to stop your heart.
Step 2: Remove the Handpiece from the Machine
Disconnect the handpiece cable from the console. You’re going to work on the handpiece on a bench, not while it’s still attached to the machine. Set the handpiece on a clean, dry work surface with good lighting.
Step 3: Open the Handpiece Housing
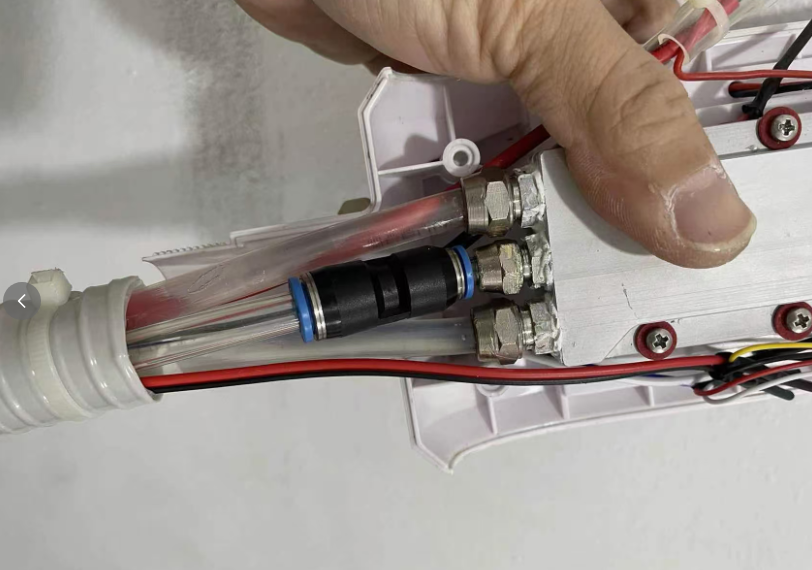
Most IPL handpieces are held together by small screws on the side or back of the handle body. Look for:
- Small Phillips-head screws — usually 2 to 4 screws along the sides or under a rubber grip
- Hex screws — some manufacturers use Allen-head screws instead
- Snap-fit plastic — some budget handles snap together without screws. Pry carefully along the seam with a plastic spudger, not a metal screwdriver, or you’ll crack the housing
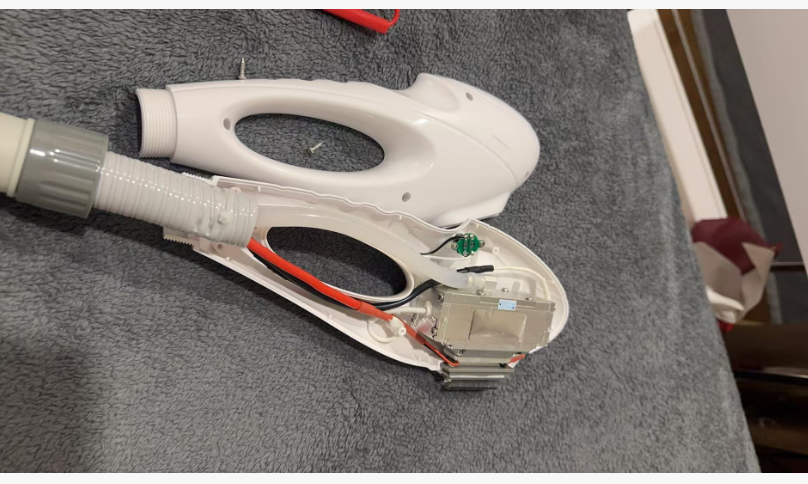
Once the screws are out, the handle should split open or the front housing should slide off, exposing the lamp assembly inside.
Step 4: Locate and Disconnect the Old Lamp
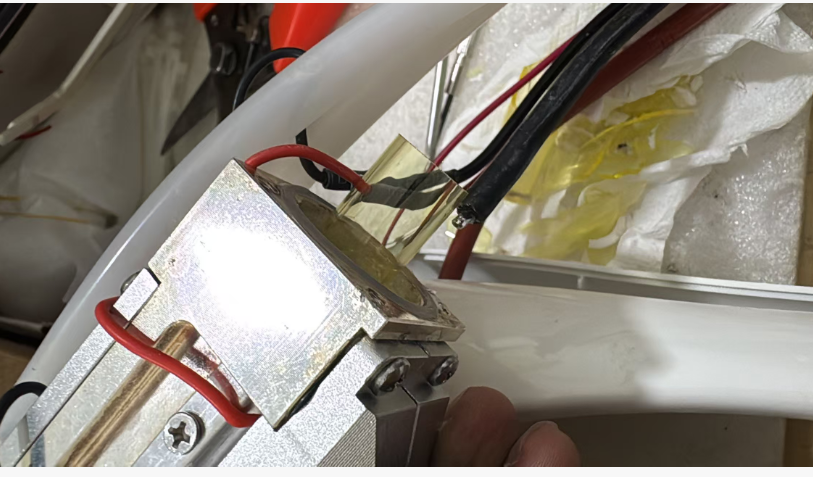
Inside the handle you’ll see the xenon lamp sitting in a reflector channel. The lamp has two connections — one at each end. In most IPL handles:
- The lamp is held in place by spring clips or screw-down clamps at each end
- The electrical connections are screw terminals or push-on connectors
- Some lamps have their wire leads soldered to terminals (less common, mostly on older or premium handles)
Take a photo before you disconnect anything. Note which wire goes to which terminal — the anode (positive) side is usually marked with a red dot or red band on the lamp body. Getting polarity wrong won’t make the lamp explode but it will reduce lamp life significantly.
Loosen the clamps, disconnect the terminals, and carefully lift the old lamp out of the reflector channel.
Step 5: Clean the Reflector and Housing
While the lamp is out — this is your chance. The reflector channel surrounding the lamp accumulates dust, dead skin particles, and a thin film of residue from the cooling system. All of this reduces light output.
Wipe the reflector surface gently with isopropyl alcohol and a lint-free cloth. Don’t scrub — the reflective coating is delicate. A scratched reflector loses efficiency. If the reflector is peeling, flaking, or has dark spots that won’t wipe off, it’s degraded and should be replaced (most handles sell the reflector as a separate part).
Also check the cooling channels or fan vents inside the handle for dust buildup. A clogged cooling path makes the new lamp run hotter and die sooner.
Step 6: Install the New Lamp
Don’t touch the quartz glass with your bare fingers. Skin oils on the quartz tube create hot spots when the lamp fires. These hot spots can crack the tube. Handle the new lamp by the metal end caps only, or wear clean nitrile gloves.
- Wipe the new lamp with isopropyl alcohol and a lint-free cloth before installing — even factory-new lamps can have residue from manufacturing.
- Place the lamp into the reflector channel. Make sure it sits evenly — not tilted, not touching the reflector wall on one side. The lamp should be centered in the channel for even light distribution.
- Match the polarity: red-marked end (anode, +) goes to the positive terminal. If your lamp uses wire ends, the anode wire is usually the one with the red insulation or red marking near the end cap.
- Tighten the clamps or screw terminals — snug, not over-tightened. Overtightening can crack the quartz where it meets the metal end cap.
- Reconnect the electrical terminals. If they were soldered, re-solder carefully — use a heat sink clip on the lamp lead to prevent heat from conducting into the lamp body.
Step 7: Reassemble and Test at Low Power
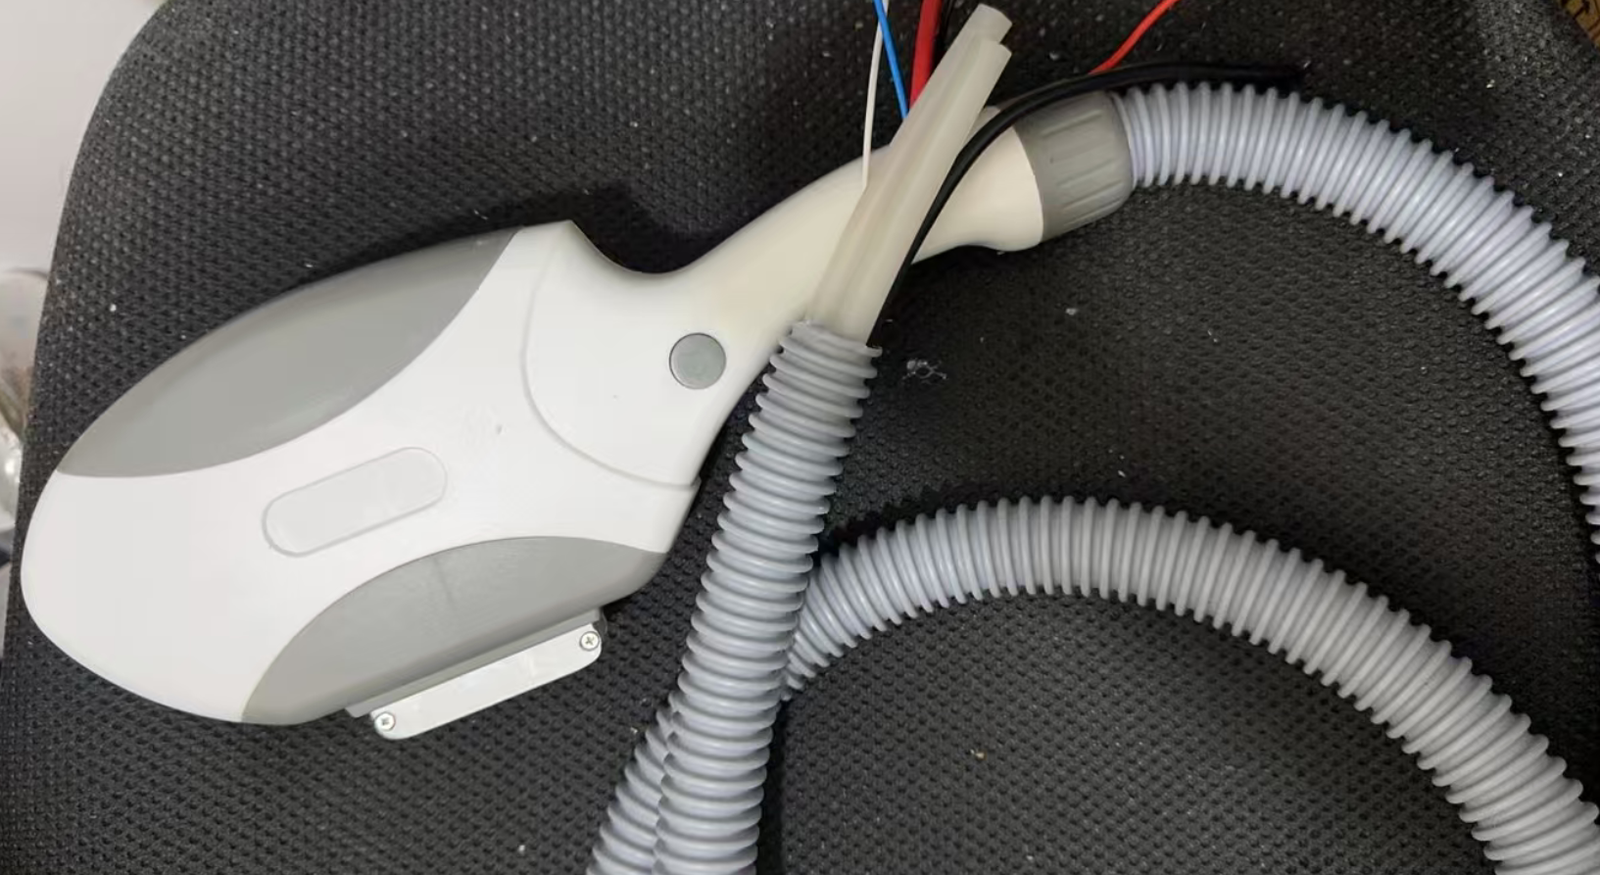
Put the handle housing back together. Don’t fully tighten all the screws yet — you want to test first and you may need to reopen if something’s off.
Reconnect the handpiece to the machine. Power on. Set the energy to the lowest possible setting — usually around 5-10 J/cm². Fire a few test pulses into the air (or better, into a test block if you have one). Listen for a consistent “pop” sound and watch for a bright, even flash. If the lamp fires normally at low power, gradually increase to normal operating energy and test again.
If the lamp doesn’t fire at all: check the electrical connections, verify polarity is correct, and make sure the lamp didn’t crack during installation (even a hairline crack lets the xenon gas escape and the lamp won’t ignite).
Once everything checks out, tighten all the housing screws, run 10-20 pulses at normal operating energy to confirm stability, and the handpiece is ready for use.
After Replacement: What to Expect
- Burn-in period: A new lamp takes about 100-200 pulses to stabilize. You might notice slight energy fluctuations during the first few treatments — that’s normal and will settle down.
- Output check: The flash should be noticeably brighter and more consistent than the old lamp. If it looks about the same, check that the lamp is centered in the reflector channel — even 1mm off-center can lose 15-20% of your effective output.
- Optical alignment: After replacing the lamp, the light path through the filter glass and onto the skin may shift slightly. Test on yourself or a staff member before using on a paying patient. If the treatment feels different (hotter spots, less even), the lamp position may need fine-tuning.
FAQ
How do I know if my IPL lamp is dead vs. another problem?
If the lamp makes a faint flash or no flash at all but the machine beeps and shows a normal display, the lamp is likely dead. If the machine doesn’t power on at all, that’s a power supply issue. If it powers on but won’t enter treatment mode, that could be the footswitch, the handpiece cable, or a control board fault — not the lamp. The simplest test: swap the handpiece onto a different port (if your machine has multiple ports). If the problem follows the handpiece, it’s the lamp or handle. If all ports behave the same, it’s the console.
Can I use a different-size lamp if the exact size isn’t available?
No. All three dimensions — OD, arc length, overall length — must match. A lamp that’s 2mm shorter in arc length will have a different electrical impedance and may not fire correctly with your power supply. A lamp with a different OD won’t fit in the reflector channel. Always match the exact size. If you can’t find your size, contact a supplier who does custom lamp orders — they’re more common than you think.
How should I dispose of the old lamp?
Xenon lamps contain a small amount of mercury and pressurized xenon gas. Wrap the old lamp in bubble wrap or its replacement packaging and dispose of it as electronic/hazardous waste — not regular trash. Some municipalities require lamps containing mercury to go to a specific disposal facility. Check your local regulations. And don’t throw it loose in the trash where it’ll get crushed — the quartz shatters into razor-sharp fragments.
Can I replace the lamp myself or does it void warranty?
Check your machine’s warranty terms. Many manufacturers consider lamp replacement to be routine maintenance that does NOT void the warranty — similar to changing a light bulb. But if you damage something else while replacing the lamp (cracked housing, stripped screws, broken connector), that damage likely isn’t covered. If your machine is under warranty and you’re not confident, send the handpiece to the manufacturer or an authorized repair center.
IPL Xenon Lamps, Handpieces & Filter Glass
We stock IPL xenon lamps in all 12 common sizes, plus replacement handpieces and filter glass. Not sure which size you need? Send us a photo of your old lamp next to a ruler and we’ll match it →