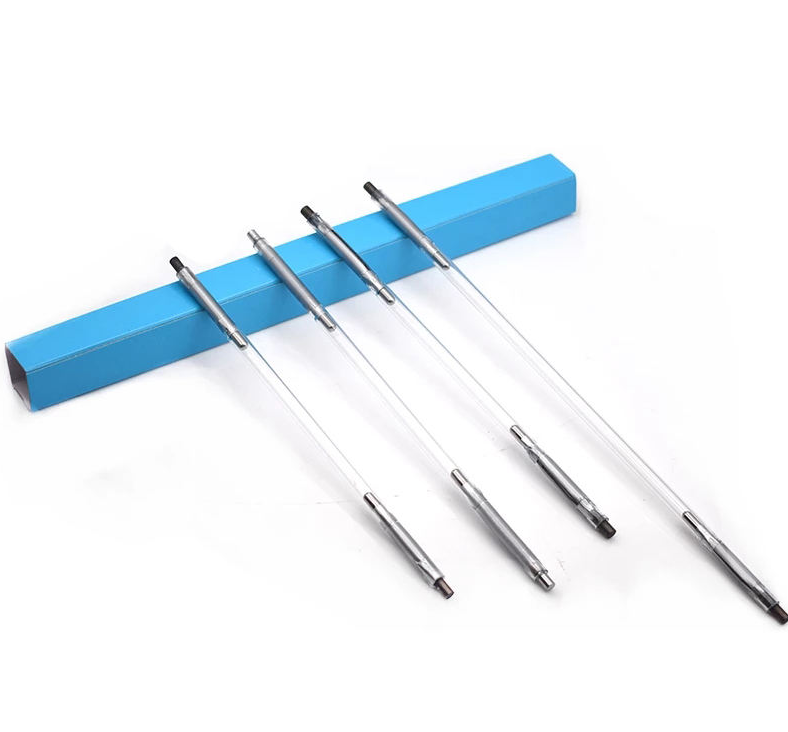
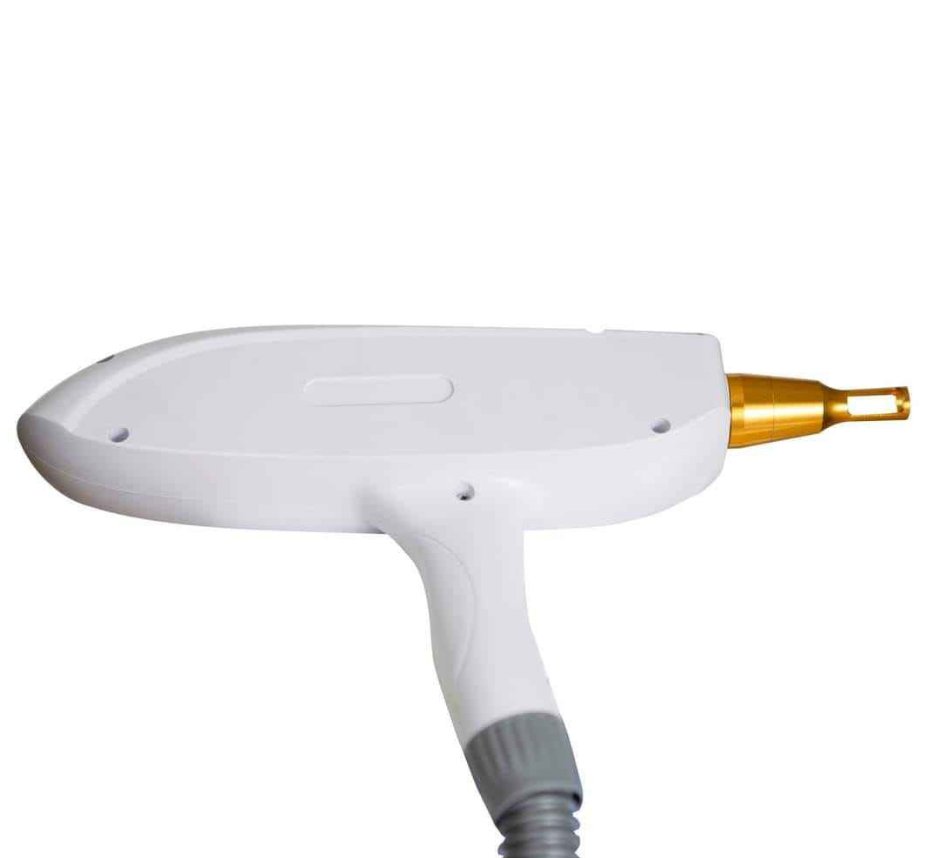
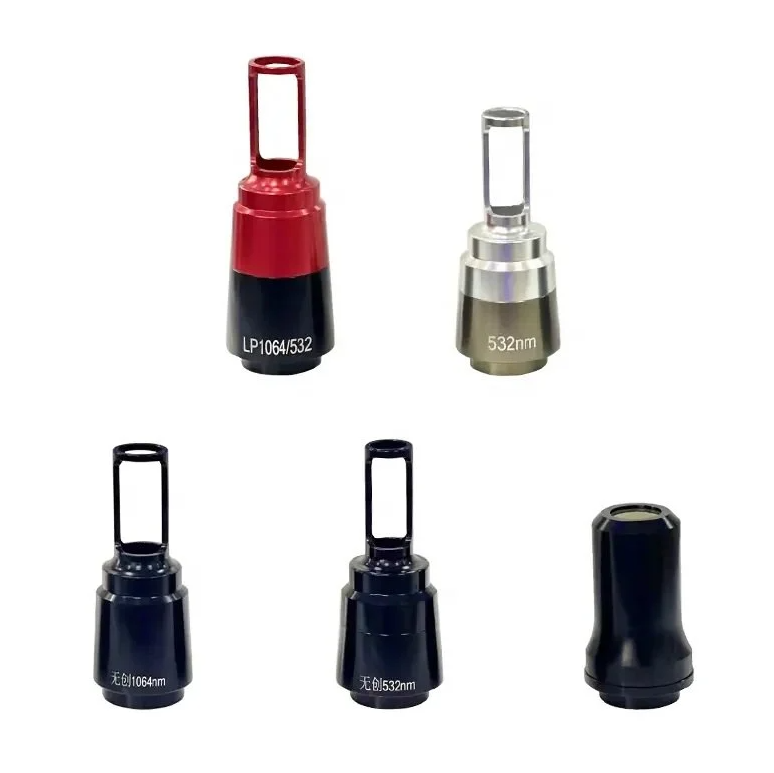
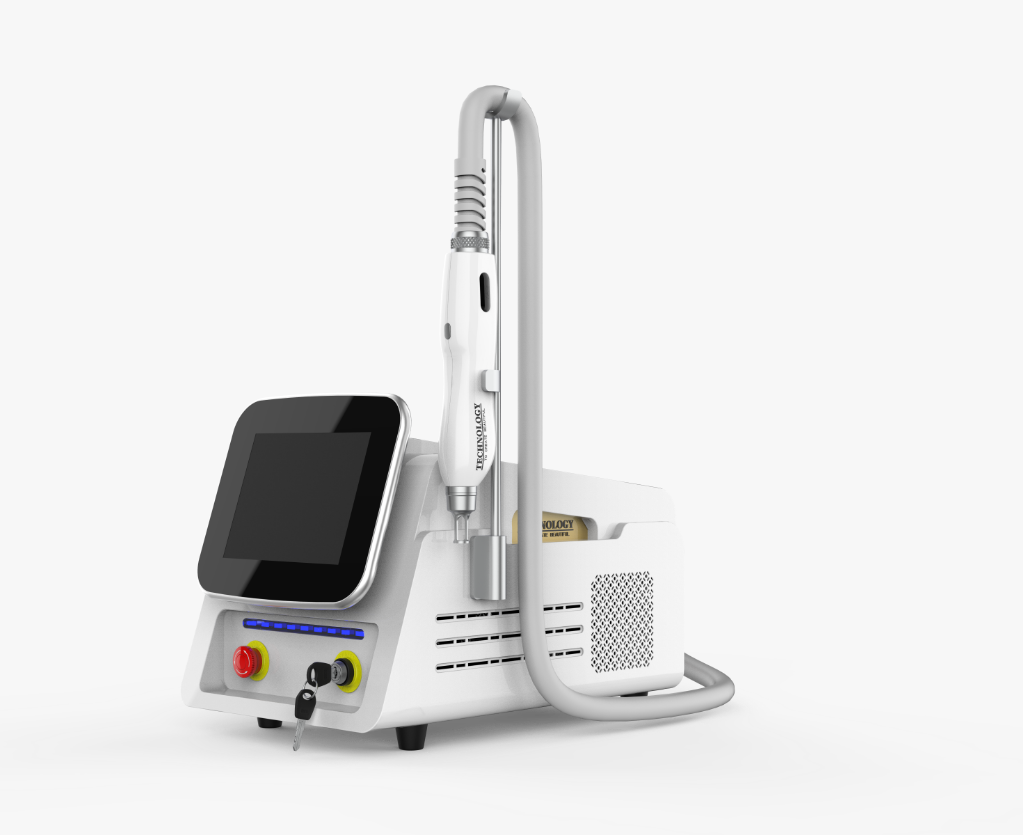
If your Q-switch or Pico laser has been losing punch — you’re cranking up the energy to get the same result you used to get at lower settings — the flash lamp is probably on its way out. This is the most common consumable in any lamp-pumped Nd:YAG laser, and replacing it isn’t complicated if you know the steps.
This guide covers the whole process: measuring your old lamp so you order the right one, pulling the old lamp safely, installing the new one, and doing the post-install checks that keep your machine from leaking or underperforming. We’re focusing on the kind of Q-switched Nd:YAG lasers used in tattoo removal and aesthetic clinics �� not industrial welding lasers. Same basic principles, but the details match what you actually have in your treatment room.
Before You Order: How to Measure Your Flash Lamp
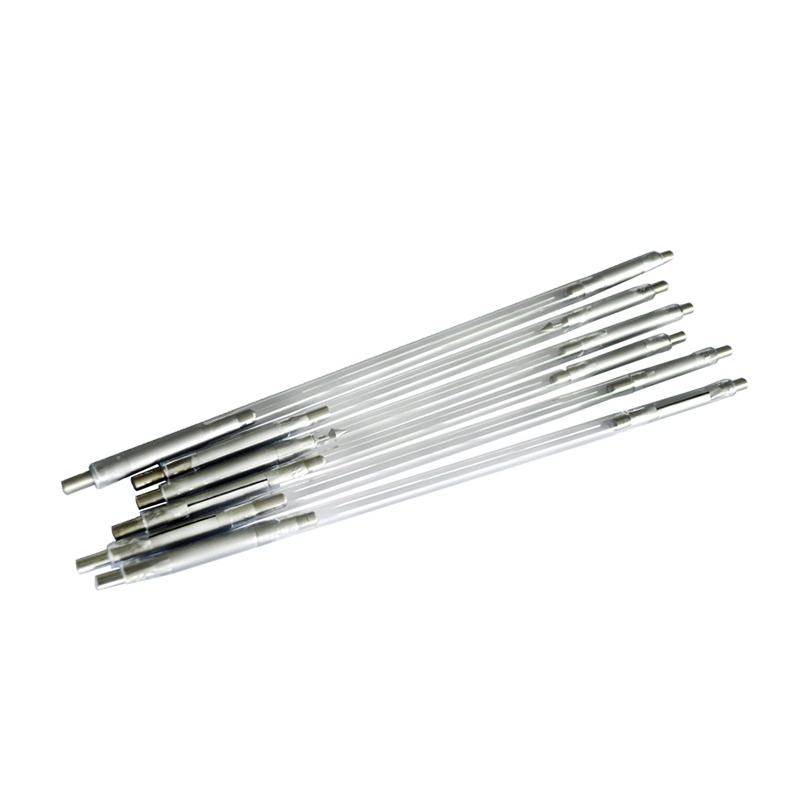
Nothing’s more annoying than pulling your machine apart only to realize the replacement lamp doesn’t fit. Flash lamp sizes use a standard three-number format:
Diameter × Arc Length × Overall Length (OD × AL × OL), all in millimeters.
- Outside Diameter (OD) — The thickness of the quartz tube. Most aesthetic Nd:YAG lamps are 6mm, 7mm, or 8mm. Use calipers if you have them; a ruler won’t cut it here.
- Arc Length (AL) — The gap between the two electrodes inside the tube. This is where the actual flash happens. Common sizes: 50mm, 60mm, 65mm, 70mm, 75mm, 100mm.
- Overall Length (OL) — Total glass body length, end to end. Not including the wire leads. Typically 90mm to 155mm for aesthetic machines.
For example, a lamp marked 7×50×110 means 7mm diameter, 50mm arc gap, 110mm total body length. This is one of the most common sizes in Chinese Q-switch machines. If your lamp has any markings on the metal collars or the original packaging, take a photo before you toss it — that reference number will save you measuring time on the next replacement.
If you don’t have calipers and can’t find the markings, take the old lamp out first (follow the steps below), measure it, then order. A few days of downtime beats ordering the wrong size twice.
Safety First — Don’t Skip This
Laser power supplies hold high voltage even after you turn the machine off. The capacitors inside can keep a dangerous charge for several minutes. Here’s what you do:
- Power down completely — Turn off the machine, unplug it from the wall. Don’t just hit the soft power button on the front panel.
- Wait at least 5 minutes — This gives the capacitors time to bleed down. 10 minutes is better if you’re not in a rush.
- Wear gloves — Nitrile or lint-free cotton. Your bare fingers leave oil on the quartz glass, and when that lamp heats up to operating temperature, those oily spots create hot spots that can crack the tube. This isn’t optional — it’s the number one reason new lamps fail early.
- Eye protection — The lamp itself isn’t firing, but you’re working around optical surfaces. Safety glasses at minimum.
- Drain the cooling water first — Most aesthetic Nd:YAGs use distilled water circulating around the lamp and rod. If your machine has a drain valve, use it. If not, you’ll need to disconnect the water hoses at the laser head — have a container ready to catch the water.
Removing the Old Flash Lamp
Step 1: Get Access to the Laser Chamber
Remove the outer cover of the laser head. On most Q-switch machines, this is a metal panel held by 4-6 screws. Underneath, you’ll see the pump chamber — usually a metal block with water hoses running in and out, and electrical leads going to the lamp.
Step 2: Disconnect the Lamp Leads
The lamp has two wire leads — one at each end — connected to screw terminals. Note which wire goes where before you disconnect them. The anode (positive) side is almost always marked with a red band or red dot on the lamp body. Take a photo with your phone so you don’t have to guess on reassembly. Getting polarity wrong won’t make the lamp explode, but it’ll cut its lifespan significantly.
Step 3: Open the Chamber
Loosen the bolts on the chamber top cover (usually M5 or M6, sometimes hex). Lift the cover straight up — there’s an O-ring seal underneath, so it might be a bit stuck. Don’t pry it with a screwdriver or you’ll gouge the sealing surface and end up with a leak.
Step 4: Lift Out the Reflector
Inside the chamber, a gold or silver-coated reflector surrounds the lamp and laser rod. Hold it by the outer edges and lift it straight out. The inside surface is delicate — even a fingerprint can reduce reflectivity enough to drop your output power. Set it aside on a clean, dry cloth, reflective side up.
Step 5: Remove the Lamp
You’ll see the flash lamp sitting in its holders, usually inside a glass flow tube. Loosen the holder screws at each end. Then grip both ends of the flow tube (not the lamp itself) and lift the whole assembly out. Once it’s on your workbench, slide the old lamp out of the flow tube.
Take a minute to inspect the flow tube while it’s out. If you see cloudy spots, mineral deposits, or small cracks, replace it along with the lamp. A degraded flow tube will shorten your new lamp’s life.
Step 6: Inspect the Rod and Cavity
While the chamber is open, look at the Nd:YAG rod (the solid crystal rod next to where the lamp sits). The rod ends should look clear and shiny. If they’re cloudy, burned, or chipped, that’s a bigger problem than just the lamp — the rod may need re-polishing or replacement. Also check the gold-plated cavity surfaces for corrosion or flaking.
Installing the New Flash Lamp
Step 1: Clean the New Lamp
Even if it came in a sealed package, wipe the entire glass surface with isopropyl alcohol and a lint-free cloth. Factory packaging leaves residue, and you really don’t want anything on that quartz when it’s running at several hundred degrees.
Step 2: Slide It Into the Flow Tube
Straighten the lamp leads carefully — they’re usually bent for packaging. Feed the lamp through the flow tube. Don’t force it. If it’s tight, a tiny bit of distilled water on the outside of the lamp helps it slide.
Step 3: Place the Assembly Back in the Chamber
Set the flow tube + lamp assembly into the lamp holders, making sure the lamp is centered in the cavity. Match the polarity: red band end goes to the positive (+) terminal. If you forgot which is which, refer to that photo you took in Step 2.
Step 4: Secure and Reassemble
Tighten the lamp holder screws at both ends — snug, not cranked. Overtightening can crack the lamp or flow tube. Replace the reflector, making sure it seats correctly in its groove. Put the chamber cover back on, tightening the bolts evenly in a cross pattern so the O-ring compresses uniformly.
Step 5: Reconnect the Leads
Attach the lamp leads to the correct terminals. Tighten firmly — a loose connection here creates resistance, which generates heat, which can burn the terminal or cause intermittent firing.
After Installation: Leak Test, Burn-In, Shot Counter
Leak Test
Refill the cooling system with fresh distilled water. Don’t use tap water — minerals will deposit on the lamp and rod, reducing output and eventually causing arcing. Once filled, power on the cooling pump (not the laser) and let the water circulate for 10-15 minutes. Check every hose connection, the chamber cover seal, and both lamp ends for any sign of moisture. If you see a leak, power down, drain, fix it, and test again. Water inside the electrical compartment will destroy your power supply.
Burn-In the New Lamp
A brand new flash lamp needs 500-1000 “break-in” shots before it stabilizes. Most manufacturers recommend firing at reduced energy — around 400V or ~60% of your normal operating energy — with the handpiece pointed away from anything (shutter closed if your machine has one). You might notice the energy reading fluctuate a bit during burn-in. That’s normal. After 500 shots or so it should settle into a consistent output.
Some technicians also run the cooling pump for 2-3 hours before first use to work out trapped air bubbles. Bubbles in the cooling water create hot spots because they don’t conduct heat away from the lamp as efficiently as water does.
Reset the Shot Counter
If your machine has a shot counter or lamp life tracker, reset it to zero now. That way you’ll know exactly how many shots you’ve put on this lamp when it comes time to order the next one.
How Long Should a Flash Lamp Last?
For aesthetic Q-switched Nd:YAG machines doing tattoo removal and skin treatments, a good xenon flash lamp typically lasts 1 to 5 million shots. The wide range depends on a few things:
- Energy level — Running at lower joules extends lamp life. If you’re always at max power, expect the lower end of that range.
- Cooling quality — Old, dirty cooling water with mineral buildup insulates the lamp and makes it run hotter, which accelerates electrode wear.
- Lamp quality — A genuine quartz lamp from a known manufacturer will outlast a no-name replacement by a significant margin. The quartz purity and electrode doping matter.
- Firing frequency — Machines running at high Hz (fast repetition) put more thermal cycles on the lamp per hour.
In a typical clinic doing 5-10 tattoo removal sessions a day, that translates to replacing the lamp roughly every 6-12 months. Some busy clinics do it every 4 months just to stay ahead of the degradation curve.
Signs Your Flash Lamp Is Dying
You don’t have to wait for the lamp to completely fail. Here’s what to watch for:
FAQ — ND YAG Flash Lamp Replacement
Can I replace the lamp myself or do I need a technician?
If you’re comfortable opening the machine and working carefully, you can do it yourself. There’s no soldering or calibration required for a basic lamp swap. The hardest parts are not touching the glass and making sure there are no water leaks afterward. If your machine is under warranty, check — some manufacturers void the warranty if the laser head is opened by anyone other than an authorized tech.
Do I need to replace both lamps on a dual-lamp system?
Yes. If your machine has two lamps (some high-power Q-switched systems do), replace both at the same time. They degrade at roughly the same rate, and a new lamp paired with an old one creates uneven pumping of the rod, which leads to poor beam quality.
What if my new lamp doesn’t fire after installation?
Check three things: (1) polarity — did you connect the red end to the + terminal? (2) Are the lead connections tight? A loose terminal screw will prevent current flow. (3) Did the lamp get cracked during installation? Even a hairline crack lets the xenon gas escape, and the lamp won’t fire. Inspect it closely under good light.
How do I dispose of the old lamp?
Flash lamps contain a small amount of xenon gas and sometimes mercury (in older lamps). They’re not classified as hazardous waste in most places, but the quartz glass is sharp if broken. Wrap the old lamp in its replacement’s packaging and dispose of it as electronic waste, not regular trash.
Does replacing the lamp affect my laser’s alignment?
Usually not, but if you notice the beam looks different or treatment results aren’t the same, the lamp might be sitting slightly off-center in the cavity. A lamp that’s even 0.5mm off can change the pumping distribution. If this happens, you’ll need a tech with alignment tools to dial it back in.
ND YAG Laser Parts — Lamps, Handpieces & More
We stock flash lamps in all 10 common ND YAG sizes, plus replacement handpieces, treatment tips, and complete Q-switch machines. All lamps use cerium-doped quartz with proper electrode doping — factory-direct, worldwide DHL/FedEx shipping.